Hardwood Flooring Installation Options: A Comprehensive Guide
Installing hardwood flooring is a transformative home improvement that not only enhances the aesthetic appeal of your space but also increases property value. Whether you're replacing existing flooring or upgrading from carpet or vinyl, the installation process involves several critical steps that impact the final appearance, performance, and longevity of your hardwood floor.
Understanding the Hardwood Installation Journey
From preparation to finishing touches, the hardwood installation journey requires careful planning, attention to detail, and the right tools and techniques. In this comprehensive guide, we'll delve into the various hardwood flooring installation options, exploring the benefits and considerations of each method.
Types of Hardwood Flooring Installation Methods
There are several hardwood flooring installation methods to choose from, each with its strengths and suitability for different subfloors, budgets, and skill levels. Here are the top five hardwood installation methods:
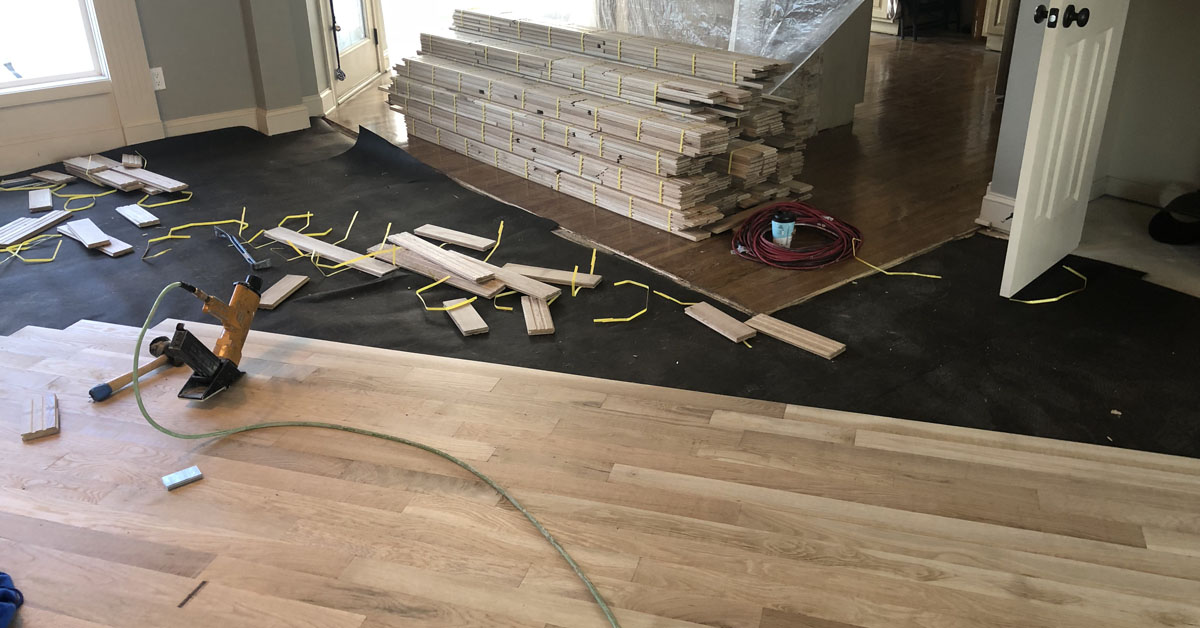
- Nail-Down Installation: Suitable for solid hardwood flooring, this method involves nailing the planks directly to the subfloor using a nailgun. It's a durable and long-lasting option, but requires a solid subfloor.
- Glue-Down Installation: Engineered hardwood flooring can be glued directly to the subfloor using a special adhesive. This method is ideal for installations over concrete subfloors.
- Floating Installation: Perfect for engineered hardwood with click-lock edges or glue-down construction, this method involves installing the floor over an underlayment without nailing or gluing it directly to the subfloor.
- Click-Lock Installation: Engineered hardwood flooring with click-lock edges can be installed by clicking the planks together, creating a seamless, floating floor.
- Staple-Down Installation: Similar to nail-down installation, this method uses staples instead of nails to secure the planks to the subfloor.


:max_bytes(150000):strip_icc()/installing-hardwood-floor-170040982-582b748c5f9b58d5b17d0c58.jpg "The Complete Hardwood Floor Installation Guide: What to Expect and How ...")


 | Floor & Decor")


