DIY Smart Thermostat Installation: A Comprehensive Guide
Installing a smart thermostat is a great way to enhance your home's energy efficiency, comfort, and convenience. With the rise of smart home technology, a DIY smart thermostat installation is now a viable option for many homeowners. In this article, we'll walk you through the process of installing a smart thermostat safely and efficiently, covering the necessary tools, wiring, and troubleshooting tips.
Benefits of DIY Smart Thermostat Installation
- Cost-effective - Save money on installation costs by doing it yourself.
- Increased energy efficiency - Smart thermostats optimize your energy consumption, reducing your utility bills.
- Improved comfort - Enjoy precise temperature control and remote access to your thermostat.
- Easy installation - Follow our step-by-step guide for a hassle-free DIY installation.
Tools and Materials Needed
- Screwdrivers (flathead and Phillips)
- Wire nuts and electrical tape
- Labeled wire stripper (for labeling wires)
- Thermostat mounting plate
- New smart thermostat
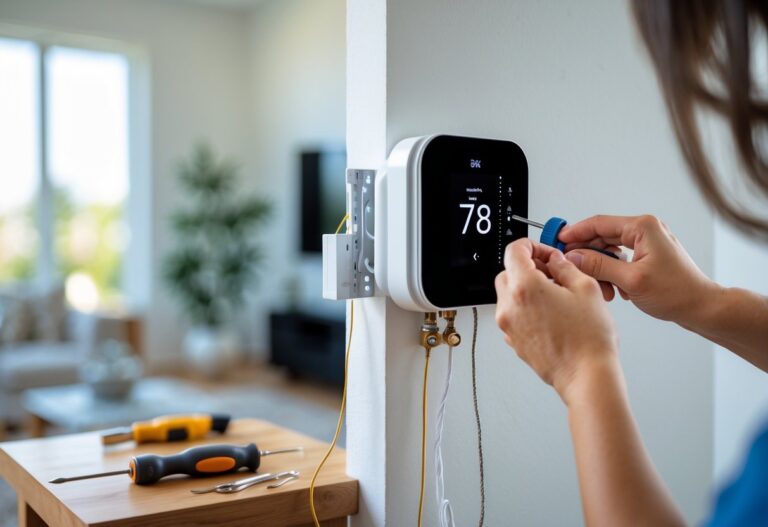
Step 1: Prepare for Installation
Before starting the installation, turn off the power to your HVAC system at the circuit breaker. Verify that the power is off using a non-contact voltage tester.
Step 2: Disconnect the Old Thermostat
Carefully remove the old thermostat, labeling the wires as you disconnect them. Take note of the wire colors and their corresponding terminal connections.


