Mastering the TP-Link Router Configuration Wizard: A Comprehensive Guide
Setting up a TP-Link router can be a daunting task, but with the right guidance, you can navigate through the process with ease. The TP-Link router configuration wizard is a user-friendly interface that guides you through the setup process, making it a breeze to configure your router. In this article, we will walk you through the process of accessing and setting up your TP-Link router using the web-based web management page, the TP-Link Tether app, and the Quick Setup wizard.
Accessing the Setup Wizard
To begin, connect your device to the TP-Link router's network. Once connected, access the setup wizard at tplinkwifi.net, 192.168.0.1, or 192.168.1.1 from a web browser. The TP-Link Tether app is also a convenient alternative for mobile users.
Using the Quick Setup Wizard
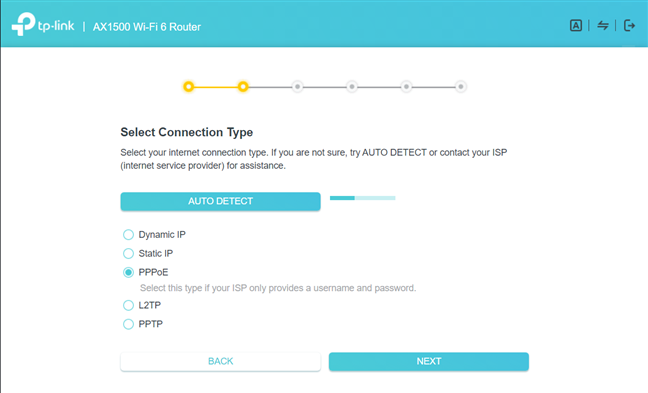
The Quick Setup wizard is a guided process that automates most of the configuration steps. To access the Quick Setup wizard, follow these steps:
- Connect your device to the TP-Link router's network.
- Open a web browser and navigate to tplinkwifi.net, 192.168.0.1, or 192.168.1.1.
- Follow the on-screen instructions to select your main router's Wi-Fi network and enter its password.
- Click "Next" to continue with the setup process.
Configuring the TP-Link Router
Once you have accessed the setup wizard, you can configure your TP-Link router's settings using the web-based web management page. The following settings can be configured:


 - eBay")


 - eBay")


