Netgear Router Setup with Router Update: A Comprehensive Guide
The Importance of Regular Router Updates
Updating the firmware on your Netgear router is a crucial step in maintaining its performance, security, and functionality. Firmware updates patch security vulnerabilities, fix bugs that cause drops or slowdowns, and often improve compatibility with newer phones, laptops, and smart home devices. In this article, we will guide you through the process of setting up your Netgear router and update its firmware to ensure you are getting the most out of your device.
Netgear Router Setup: Unboxing and Initial Configuration
Setting up your Netgear router is a straightforward process that requires patience and attention to detail. Here's a step-by-step guide to help you get started:
- Unbox your Netgear router and remove any packaging materials.
- Connect the power cord and ensure the router is properly powered on.
- Place the router in a central location to ensure optimal coverage.
- Connect your modem to the router using an Ethernet cable.
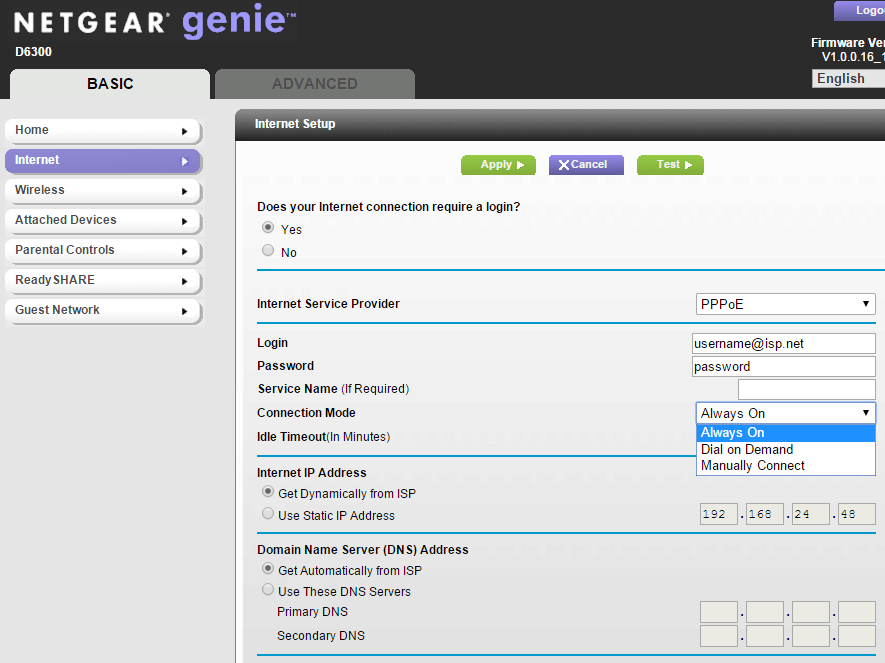
- Launch a web browser and type the router's default IP address (usually 192.168.0.1 or 192.168.1.1).
- Log in to the router using the default admin username (usually admin) and password (usually password or a unique string printed on the device itself).
- Change the default admin username and password to secure your router.
- Configure your Wi-Fi settings, including the network name, password, and channel settings.
- Apply the changes and restart the router to ensure the settings take effect.


 On Amazon")


 Review")
